
Twilert Introduces Whitelabelling
Our Agency plan has now become so popular amongst companies offering Twilert as a third party service, that we’ve introduced Whitelabelling. As an optional, complimentary addition to all new or current Agency packages, Whitelabelling is the tool that will add that extra special touch to Twilert email notifications.
What is Whitelabelling?
Whitelabelling involves removing an existing company logo (in our case, our friendly little blue bird) and replacing it with your own. This is great for client-based work in which correspondence is being sent directly to your customers. In short, Whitelabel solutions can help you utilise your business’s unique branding to offer a product or service. The result: You can focus on building your brand and selling your services while we maintain that lovely brand image that you’ve worked so hard to establish.
How do I set up Whitelabelling?
Setting up White Labelled Twilerts is simple.
1.
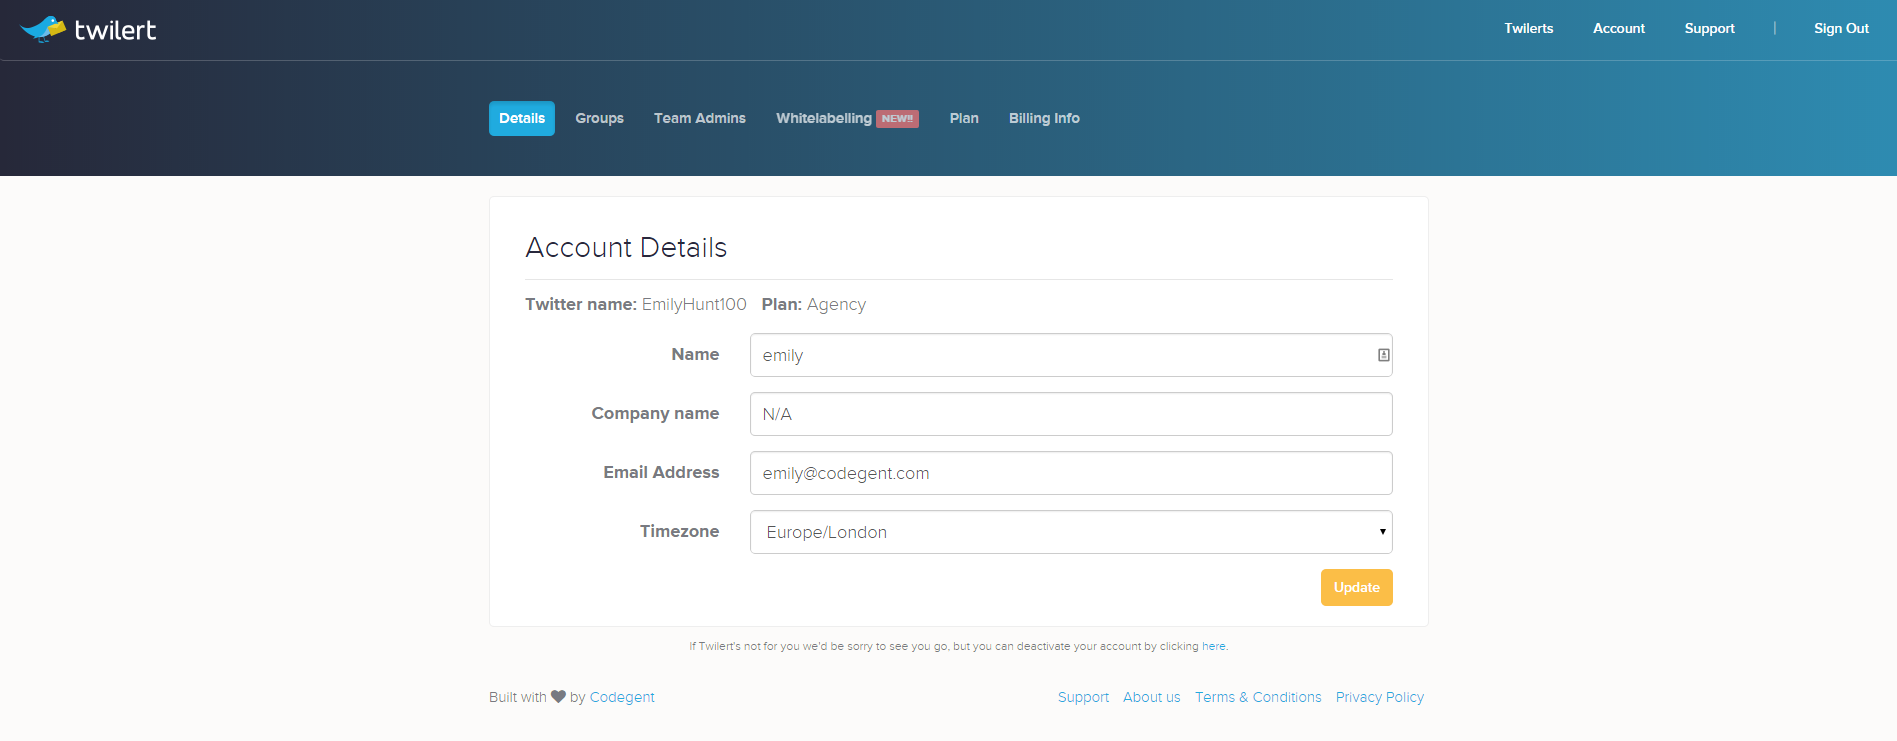
The first step is to log in to your Agency account as normal and click on the ‘Account’ tab on the top right of the tool bar. Once you’re there you’ll see a brand new icon – ‘Whitelabelling’!
Give that link a click..
2.

This tab will bring you to the page that prompts you to enter that all important information.
Firstly, you’ll need to enter the ‘Sender Name’. This is the name that will appear in the recipients inbox as the ‘from’ address (or ‘sender’). This can simply be your company name, in this instance ‘Codegent’, or something to make the recipient more aware of the content of the email – ‘Codegent Twitter Monitoring’ or ‘Codegent Twitter Alerts’.
Next, you’ll need to enter the ‘Sender Email’. This is the email address which will appear as the ‘sender’ and also the one which all email replies will be directed to. Remember, this is only the email address that will appear on the emails, not the email address that these Twilerts are sent to.
The last step of this section is to upload your company logo – or whichever you want to appear at the top of each Whitelabelled email.
Now let’s test that these settings are definitely the ones you want to stick with. To do this, scroll to the bottom of the page and click ‘send test email’.
Once you’ve reviewed your test email and made any changes, simple click the ‘Save’ button.

Almost there! Now you simply need to go into your ‘Twilerts’ tab in the top right corner of your screen and ‘enable’ Whitelabelling on your selected Twilerts.
And there you have it! Your Whitelabelled Twilerts are ready to whiz and ‘wow’ your client’s inbox

No Comments